
Facebook and Instagram together reach billions of people every month, and both are run through the same tool: Meta Ads Manager. That’s good news for beginners learn the system once, and you can advertise on both platforms from a single dashboard. The barrier to entry is low too; you can technically start testing with just a few dollars a day. What actually separates a wasted budget from a profitable campaign is how carefully you set things up. This guide walks you through the entire process step by step, from creating your first account to publishing your ad.
What you’ll learn:
- Step 1: Create your Meta Ads Manager account
- Step 2: Choose your campaign objective
- Step 3: Define your target audience
- Step 4: Set your budget and placements
- Step 5: Design your ad and publish
- Choosing the right ad format
- Testing and optimizing after launch
- Common beginner mistakes
- FAQs
- Conclusion
Step 1: Create Your Meta Ads Manager Account
Everything starts at business.facebook.com or inside the Meta Business Suite app — this single dashboard controls ads for both Facebook and Instagram. If you don’t already have a Facebook Page for your business, create one first, since campaigns need a Page attached to run.
Once your Business Manager account is set up, connect your Instagram account (if you have one) so you can run ads across both platforms from the same place. If you sell products online, this is also the point to install the Meta Pixel on your website:
- Shopify — go to Settings → Customer Events → add the Meta & Instagram sales channel, then paste your Pixel ID.
- WordPress/WooCommerce — install the “Meta Pixel” or “Facebook for WooCommerce” plugin and paste your Pixel ID.
- Wix, Squarespace, and others — search “Meta Pixel” in their help docs for platform-specific setup steps.
Set up the Pixel before you launch your first campaign, not after. Without it, Meta can’t learn who’s converting on your site, and your ads won’t optimize properly.
Step 2: Choose Your Campaign Objective
Click Create inside Ads Manager, and you’ll be asked to pick an objective. This choice tells Meta’s algorithm what “success” looks like, so it’s worth getting right:
| Objective | Best for |
| Awareness | Getting your ad in front of as many relevant people as possible |
| Traffic | Driving clicks to your website, app, or Instagram profile |
| Engagement | Growing likes, comments, shares, and followers |
| Leads | Collecting contact info through in-app forms, no website needed |
| App promotion | Driving app installs and in-app actions |
| Sales | Optimizing for purchases or other conversions (requires the Pixel) |
If you’re not sure where to start, Traffic or Engagement objectives tend to be the most forgiving for total beginners, since they don’t require conversion data to optimize against.
Step 3: Define Your Target Audience
Meta gives you a few ways to build an audience:
- Core audiences — manually chosen by location, age, gender, interests, and behaviors. You have full control here.
- Custom audiences — built from people who already know you: website visitors, email lists, or app users.
- Lookalike audiences — new people who resemble your best existing customers.
- Advantage+ audiences — Meta’s AI finds the audience for you based on your creative and conversion data, with minimal manual input.
A common beginner mistake is stacking too many interests and behaviors into one tiny, hyper-specific audience. A narrow audience gives Meta’s algorithm too little room to find the right people. For most first campaigns, a broader audience paired with strong creative and clean conversion tracking tends to outperform an overly-filtered one.
If you’re testing multiple audiences, create separate ad sets rather than combining everything into one — that way you can actually tell what’s working.
Step 4: Set Your Budget and Placements
You can technically start with as little as a few dollars a day, but a more realistic starting budget for testing is somewhere between $10 and $30 per day, adjusted based on your industry and goals. A commonly cited guideline is to invest roughly 10–30% of monthly revenue into Facebook and Instagram ads once a campaign is proven to work but as a beginner, your first job is simply to test, not to scale.
For placements, Meta offers Advantage+ placements, which automatically show your ad across Facebook Feed, Instagram Feed, Stories, Reels, Marketplace, Messenger, and the Audience Network letting the algorithm decide where each person is most likely to convert. Unless you have a specific reason to restrict placements (like a Stories-only creative), automatic placements generally perform better than manually picking just one or two.
Keep in mind different placements need different creative formats:
- Feed — square (1:1) or vertical (4:5) images and video
- Stories & Reels — full-screen vertical (9:16) video is required
Step 5: Design Your Ad and Publish
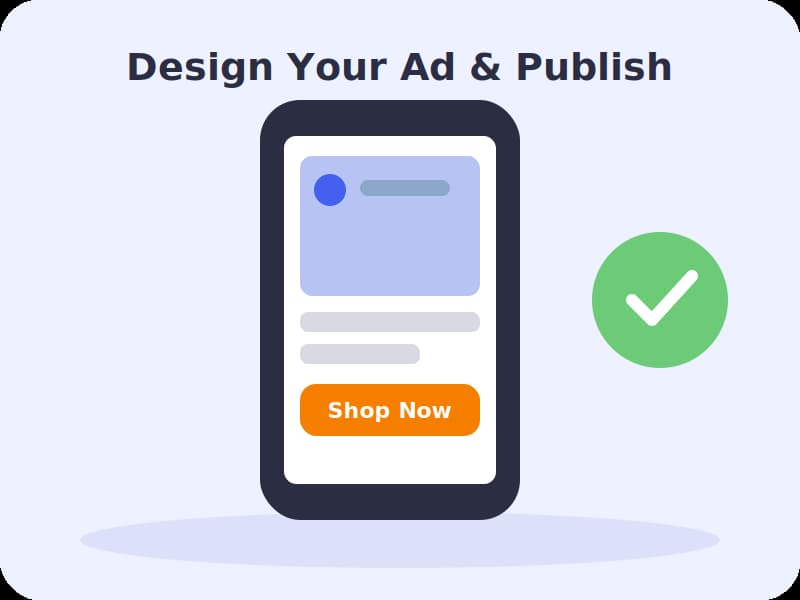
With targeting and budget set, it’s time to build the actual ad:
- Use your own media or design something specific for the ad. Repurposed Page photos work in a pinch, but creative made specifically for paid placement usually converts better. Tools like Canva are a common starting point.
- Keep one clear focal point. Make sure the offer or benefit is obvious within the first second, and that text stays readable on a small mobile screen 96% of users access Facebook on mobile.
- Write tight copy. Meta has simplified most ad copy down to a single Primary Text field, plus an optional Headline, Description, and Call to Action depending on placement. Keep it to one offer, one pain point, and one clear next step.
- Try the Problem → Benefit → Proof → Action formula as a starting structure for your ad copy.
- Review and publish. New ads go through Meta’s review process, which usually takes anywhere from a few minutes to 24 hours.
Watch: Full Video Walkthroughs
Choosing the Right Ad Format
Once your objective and audience are set, Meta will ask you to pick an ad format. Each one suits a different kind of message, so it’s worth matching the format to what you’re actually trying to show:
| Format | Best for |
| Single image | Simple, fast-to-produce ads for products, offers, or promotions |
| Single video | Demonstrating a product in use, telling a short story, or building trust |
| Carousel | Showing multiple products or steps in one ad, each with its own link |
| Collection | A mobile storefront experience — great for ecommerce catalogs |
| Stories/Reels | Full-screen, vertical, native-feeling content that blends into the feed |
For a first campaign, a single image or a short vertical video is usually the easiest place to start both are quick to produce and easy to test against each other before you invest time in something more complex like a Collection ad.
Testing and Optimizing After Launch
Publishing your ad isn’t the finish line — it’s the start of the real work. Once your campaign is live, resist the urge to check it every hour. Meta’s delivery system needs a “learning phase,” typically lasting a few days to about a week, where it gathers data on who responds best to your ad. Making frequent edits during this window resets that learning process and can actually hurt performance.
Once you’re past the learning phase, here’s what to look at:
- Cost per result — what you’re paying for each click, lead, or purchase, depending on your objective.
- Click-through rate (CTR) — a low CTR often points to weak creative or an audience mismatch, not a budget problem.
- Frequency — how many times, on average, the same person has seen your ad. A rising frequency with falling results usually means it’s time to refresh the creative.
- Conversion rate on your landing page — if clicks are healthy but conversions aren’t, the issue is likely downstream of the ad itself.
When you do want to test something new a different image, a new headline, a different audience change one variable at a time. Testing budget, creative, and targeting all at once makes it impossible to know what actually caused a change in performance.
Common Beginner Mistakes to Avoid
- Judging results too early. Campaigns need a “learning phase” — usually a week or two — before performance stabilizes. Pulling the plug after two days rarely gives you a fair read.
- Over-targeting. Layering too many interests and behaviors shrinks your audience so much that the algorithm has nothing to learn from.
- Skipping the Pixel. Without conversion tracking in place before launch, you’re optimizing blind.
- Sending traffic to a weak landing page. A great ad with a slow or confusing landing page still won’t convert — the page people land on matters as much as the ad itself.
- Ignoring mobile formatting. Since most users are on mobile, ads that aren’t designed mobile-first often underperform regardless of targeting.
Frequently Asked Questions
Q: How much money do I need to start running Facebook or Instagram ads?
A: There’s no fixed minimum — you can start testing with just a few dollars a day. Most beginners find $10–$30 per day gives enough data to evaluate performance within a week or two.
Q: What’s the difference between Facebook Ads and Instagram Ads?
A: Both are created and managed through the same Meta Ads Manager. You’re not choosing between two separate tools — you’re choosing which placements (Facebook, Instagram, or both) your ad appears on within a single campaign.
Q: How long does it take to see results?
A: Ads are usually reviewed and approved within a few hours to a day. After that, expect roughly one to two weeks before performance data is reliable enough to judge, since Meta’s algorithm needs time to learn.
Q: Should I let Meta’s AI choose my audience and placements, or do it manually?
A: For beginners, letting Meta’s automated tools (Advantage+ audiences and placements) handle more of the targeting generally performs better than heavily manual setups, especially once you have some conversion data flowing in.
Q: Do I need a website to run these ads?
A: Not necessarily. Lead generation ads can collect contact details through an in-app form without sending anyone to a website, which makes them a good option if you don’t have a site yet.
Conclusion
Running your first Facebook or Instagram ad comes down to five things: a clear objective, an audience that’s broad enough for the algorithm to learn from, a budget you’re comfortable testing with, mobile-first creative, and the patience to let the campaign run before judging it. Start small, track real conversions with the Pixel from day one, and resist the urge to change too many variables at once. Once you see what’s actually working, scaling up becomes a much easier decision.